Creating an automation via Zapier
Let's walk through an example of creating an automation through another app called Zapier. Learn more about the Zapier <> Dropboard integration here.
Create a new "Zap"

Click on "Trigger" to select Dropboard as the starting app:

Choose the triggering event
In our case, we're going to react when new candidates apply to a job.

Click "Continue" to go to the next step.
Connect your Dropboard account
If you haven't already done so, now you'll need to connect your Dropboard account. Follow the instructions near the "Choose an Account" area of this step.
Feature limitation
You must have an active billing profile or be on our free trial.

Click "Continue" to move to the next step.
Customize the trigger
Next you can decide filtering options that determine when this trigger should fire. For instance, only react to candidates for a specific job or for recruiting organizations, create an automation for a specific client.

Click "Continue" to move to the next step.
Test your trigger
Click "Test trigger" to fetch real data from your account that will help you create your automation.

You'll see a preview of the data. Anything here can be included in your automation.

Click "Continue with selected record" to move to the next step.
Choose an app to react with
We need to decide what we want to do when our Dropboard trigger fires. In our case we'll add a row to a Google Sheet, so we'll choose "Google Sheets" as our app.
Choose an event — in our case, we want to create a new spreadsheet row.

Click "Continue" to move on to the next step.
Connect a Google account
If you haven't already done so, now you'll need to connect your Google account. Follow the instructions near the "Choose an Account" area of this step.
Click "Continue" to move on to the next step.
Decide which spreadsheet to add rows to
Choose a spreadsheet from your account where we will insert rows. For our example, we've prepared a spreadsheet called "Dropboard <> Zapier Test."
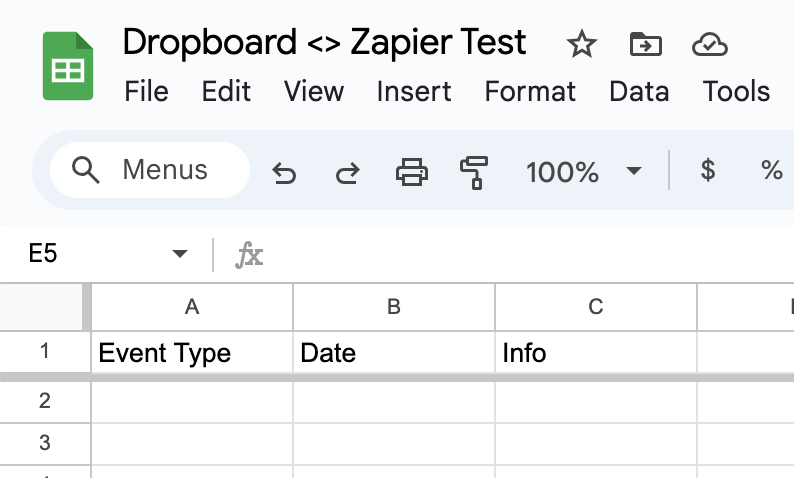

After selecting the spreadsheet, you'll be asked to choose which "Sheet" within that spreadsheet you want to work with.
Set values for your columns

Click "Continue" to move on to the next step.
Test
The final step is testing the action by inserting a new row.

Publish!
The final step is clicking "Publish" to take your Zap live. Starting now, when new candidates are created, your spreadsheet will instantly receive a new row containing the data you specified.